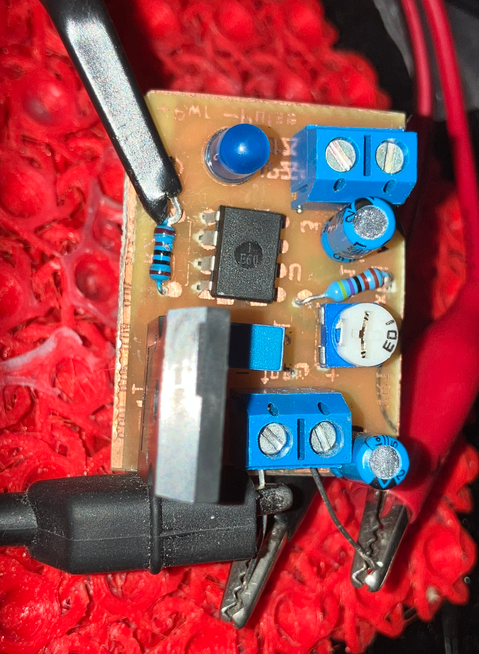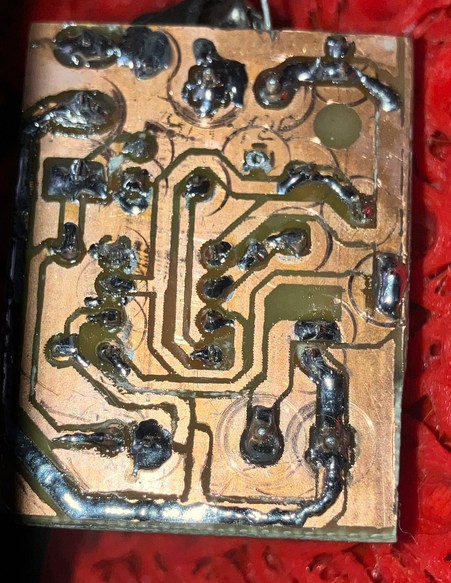
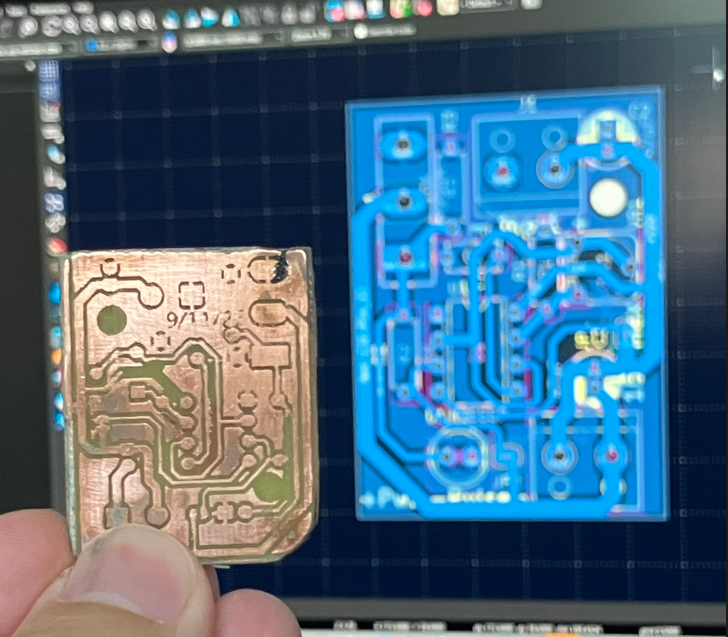
I have been working on PCB Fabrication using Copper Sulfate and Salts to dissolve copper. The laser machine is helping in the process. I am currently testing 555 timer circuits as the third prototype to be sent for bulk fabrication. There is only so much I can do with one machine and a single etching bath, but nevertheless, I am making progress.
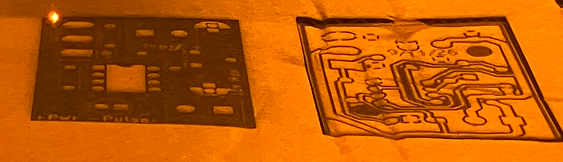
The process so far start with:
- The process starts in KiCad. [1-3 hours]
- Work in the laser design software. [20 minutes]
- Invert the DXF file and make minor adjustments in the software to improve alignment.
- Cut a layout in the placeholder slot so I can insert the blank PCB.
- Airbrush resin the copper clad single-sided or double-sided board. [2-4 hours]
- Place the copper clad into the laser machine and laser off the resin. [1 hour]
- Cut the PCB into pieces (or after the etching bath. I just prefer smaller pieces beforehand).
- Give the PCB a copper chloride bath. [1 hour 30 minutes]
- Dip in water, and rub with acetone to remove the resin. [30 minutes]
- Drill the holes using small bits if you have through-hole components (It’s easier with surface-mounted parts than through-hole because you don’t need to drill any holes). [1 hour]
- Install your components [1 hour 30 minutes]
You’re probably asking what this circuit does if I spent 10 hours on the whole project. I have a standard 555 timer, and I typically need some kind of timing device. This circuit gives me an on/off state at a timing frequency that lets me do other functions like boost a voltage, make a buzzer sound, or control a fixed fan speed.